Braid Bun for Holiday Fun: Hair Tutorial for the Holidays
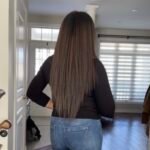
Wear a braid bun this holiday party season for a fun, “feminine tomboy” look. Because the holidays are fast approaching, today’s hair tutorial works well with any attire from the office to the office party.
Happy Tuesday hotties! Since today is for Ask the Pro Stylist’s hair tutorials, the following braid bun is great for any holiday get-together.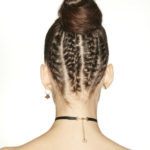
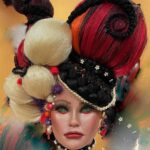
Because the look was last seen at the Dior’s PFW SS 2017 runway show, Redken Global Creative Director Guido is responsible for this adorable braid bun. He is the master behind the smooth and braided hair he calls the “feminine tomboy.”
This is Maria Grazia Chiuri’s first Dior show. Maria is very particular and always has a very strong idea about her girl. She likes the idea of almost a young street girl, with a look that you could do yourself. The 3-4 braids in the back with the topknot are a bit imperfect, so there is still softness to the look. The hair is away from the face while leaving some of the girls’ bangs intact.
To replicate the braid bun, follow Guido’s instructions below.
- To begin, start with clean, fresh hair.
- Section the back bottom of the hair (about an inch above the ear), clipping the top up.
- Next, evenly apply Redken Braid Aid 03 Braid Defining Lotion to the back length. As a result the braids will be smooth with extra grip.
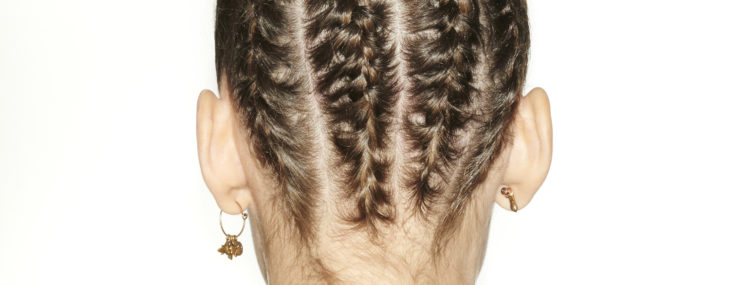
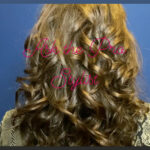
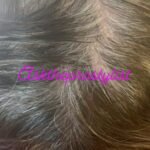
- Then, divide back length with a comb into 3 vertical sections for light hair, or 4 for thick hair.
- Flip hair upside down and French braid each of the sections from the nape of the neck to above the ear.
- Secure each braid at the ear line tightly with a small elastic band.
- Unclip the top section of the hair and evenly apply Redken Guts 10 Volume Spray Foam throughout the top section of the hair to achieve volume, shine and hold.
- Additionally, blow-dry hair away from the face to give it a smooth line.
- Once fully dry, brush hair with fingers and pull into a tight ponytail at top of head, following the hairline (slightly behind ears).
- Secure the ponytail tightly with an elastic band.
- Take hair length and make a small loop 1/3 of the way through hair with the length. Secure loop with an additional elastic.
- Wrap the existing length around the loop to complete the knot and secure with an elastic band or hairpins.
- Finish by spraying Redken Fashion Work 12 all over to help set and hold style.

For more hair tutorials similar to today’s braid bun, visit next Tuesday. Until then, happy styling! Because this is Ask the Pro Stylist, feel free to email any questions to DeirdreAHaggerty@gmail.com.
©Deirdre Haggerty, ALL RIGHTS RESERVED. It is unlawful to reproduce this article or any part therein without prior written permission and consent from the author. This post contains affiliate links, compensating Ask the Pro Stylist if you make a purchase via clicking on such.

 A writer, author, NY State licensed cosmetologist, beauty educator and Executive Director, Deirdre Haggerty has been actively involved in the hair and beauty industry in New York for over 30 years. Feel free to ask any question relating to hair care, beauty and skincare! Send Deirdre an email


You must be logged in to post a comment.